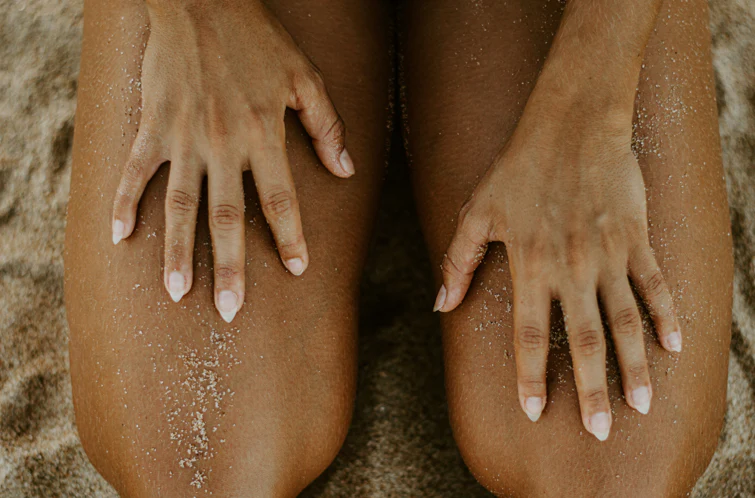
There’s an undeniable allure to beautifully bronzed skin — and these days, you don’t need to hop on a plane or risk UV exposure to achieve it. Self-tanning has become a must-have in the beauty world, offering a safe, sun-free way to get that healthy, even glow. However, for first-timers, the process can feel intimidating. Concerns about streaks, uneven patches, or an orange tint are common — but with the right preparation, product, and technique, creating a flawless tan at home is simpler than you might think.
Whether you’re gearing up for a summer event or just want to enjoy that golden-hour glow all year long, this beginner-friendly guide will walk you through how to self-tan like a pro. With a few tips and tricks, you’ll be glowing with confidence in no time.
1. Find the Perfect Formula
One of the most important choices you’ll make in your self-tanning journey is selecting the right product. Self-tanning formulations come in a variety of options, including mousses, sprays, drops, lotions, and even wipes. The best formula for you will depend on your comfort level, how much control you want over the application process, and the end result you’re aiming for.
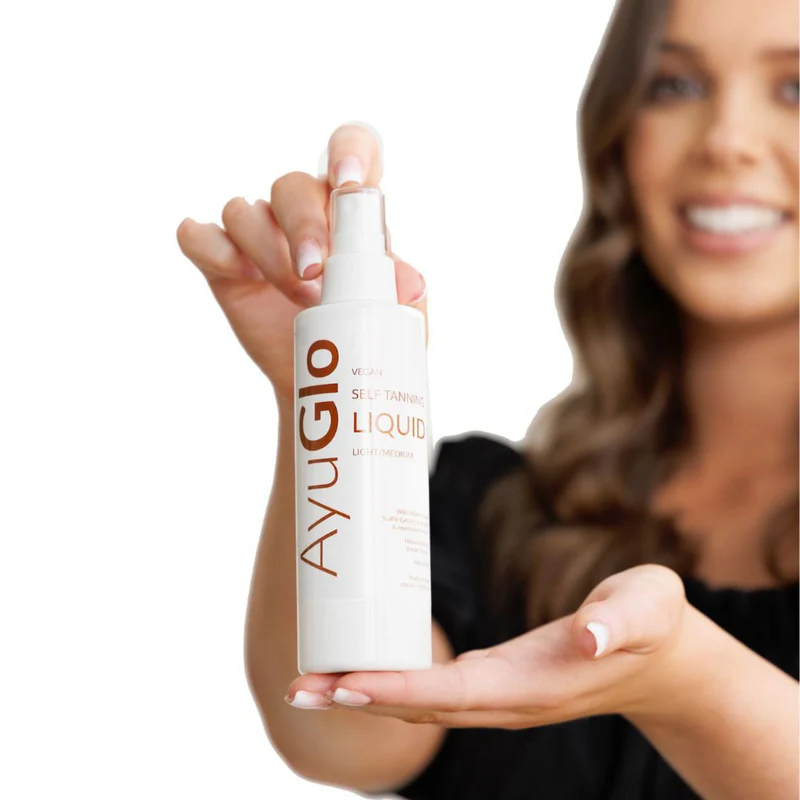
For beginners, gradual tanning lotions are an excellent starting point. These products allow you to build up your tan gradually over a few days, which means there’s less risk of overdoing it. They also tend to produce a softer, more natural look. Lightweight options enriched with hydrating ingredients — such as those from Ayu — not only give you a radiant tan but also keep your skin nourished.
If you feel ready to experiment further, self-tanning mousses are a fantastic choice for achieving a deeper, instant glow. They’re quick-drying and easy to blend, especially when paired with a tanning mitt. Whichever formula you choose, look for options with a pleasant scent and nourishing ingredients to keep your skin feeling pampered.
Pro Tip: Patch Test First
Before committing to a full application, patch-test your chosen product on a small area of skin, such as your inner arm. This allows you to check the colour payoff and make sure you’re not sensitive to the formula.
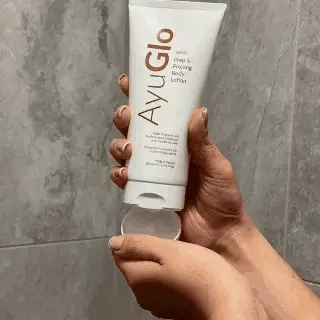
2. Prep with Exfoliation
Preparation is key to a streak-free tan, and exfoliation should be your first step. One of the most common mistakes for first-time tanners is applying product to dry, flaky, or uneven skin, which can lead to patchy results — particularly around tricky areas like elbows, knees, and ankles. Exfoliating ensures your tan has a smooth surface to cling to, helping it look natural and last longer.
Use a gentle body scrub or an exfoliating mitt the day before tanning. Pay extra attention to rougher areas and places where dead skin tends to build up. If you’re transitioning from an old tan to a fresh one, exfoliation is especially crucial to remove any remnants of the previous application.
Pro Tip: Avoid Oil-Based Scrubs
Although hydrating scrubs can leave your skin silky smooth, ones with oil residues can create a barrier that interferes with your tan. Stick to non-oily scrubs for a better result.
3. Moisturise with Care

Hydration is a critical step in creating a smooth, even tan, but timing and placement are everything. On the day of tanning, focus on lightly moisturising areas prone to dryness, such as elbows, knees, ankles, wrists, and knuckles. Avoid applying heavy moisturiser to your entire body right before tanning, as this can dilute the product and lead to streaks.
If your skin tends to be exceptionally dry, you can start a moisturising routine a few days before tanning to improve hydration levels without compromising the end result. Sheer, fast-absorbing lotions work best, as they won’t leave any residue.
Pro Tip: Protect Delicate Areas
Before applying your tan, dab a little Vaseline or a barrier cream onto small spots like your cuticles and the edges of your eyebrows. This prevents product build-up in those areas, giving a more polished finish.
4. Apply in Sections
When it’s time to apply your tan, taking a methodical approach is the best way to ensure an even result. Work on one section of your body at a time — for example, start with your legs, then move to your arms, torso, and back. Apply the product using sweeping circular motions, blending it thoroughly to avoid streaks.
Using a tanning mitt is highly recommended, as it not only protects your hands from staining but also helps achieve a seamless, streak-free finish. For hands, feet, elbows, and knees, use only the leftover product from the mitt rather than applying additional product directly. Less is more in these areas to avoid darker patches.
Pro Tip: Address Hard-to-Reach Areas
If you’re struggling to tan your back, invest in a self-tanning back applicator or enlist the help of a friend. Alternatively, a spray tan product can be an easier option for these areas.
5. Allow Time to Develop
Patience is key to achieving a flawless tan. Each product has its own development time, so always follow the instructions on the label. Many formulas require you to avoid water, tight clothing, or sweating for several hours while your tan sets. Quick-developing options may be ready for rinsing after 1–2 hours, while traditional or overnight tanners need longer.
If you’ve opted for a gradual tanning lotion, remember to build your colour in layers. Apply the lotion daily until you reach your desired shade, and then maintain the glow by reapplying every 2–3 days.
Pro Tip: Wear Loose, Dark Clothing
After tanning, reach for loose-fitting, dark clothes to prevent the product from transferring onto your fabrics. Avoid anything tight, as this can cause streaks while your tan develops.
6. Keep the Glow Going

Once you’ve achieved your perfect golden hue, focus on maintenance to keep it looking fresh. Hydration is your best friend when it comes to extending the life of your tan. Use a gentle, lightweight moisturiser daily to prevent your skin from drying out, which can make your tan fade unevenly.
When it’s time for your tan to fade, exfoliate thoroughly to ensure it does so uniformly. If you plan to reapply, give your skin at least a day to breathe after exfoliating before starting the process anew.
Pro Tip: Avoid Chlorine and Hot Baths
Chlorine can strip your tan, so limit time in pools whenever possible. Similarly, long hot baths or showers can cause your tan to fade faster. Opt for lukewarm water and pat your skin dry with a towel instead of rubbing.
7. Emergency Fixes for Common Mishaps
Even if you follow the steps perfectly, mistakes can occasionally happen — but they don’t have to ruin your glow-up. If you notice streaks or patches, gently buff the area with a dampened exfoliating mitt to soften the transition. For hands or feet that appear too dark, a mixture of baking soda and lemon juice can help lighten the area.
If the entire tan turns out darker than expected, soak in a warm bath with a few drops of baby oil to help loosen the product before exfoliating. There’s always a solution, so don’t be afraid to experiment and learn.
Start Your Self-Tanning Journey with Confidence
Self-tanning truly is one of the easiest ways to boost your confidence and achieve a radiant, sun-kissed look without exposing your skin to harmful UV rays. By finding the right product, preparing your skin, and applying with care, you’ll master the art of self-tanning in no time. Whether it’s for a special occasion or a weekly beauty ritual, there’s no denying the appeal of a beautifully bronzed glow.
With a little practice and a dependable brand like Ayu, you’ll soon uncover the beauty of a flawless tan — no matter the season. Grab your mitt, set aside a little time for yourself, and get ready to glow!